How to add a new metering point
Step 1
Sign in to Leneda.
Step 2
If you already have a Metering Point displayed on your “Energy Overview” page, choose “Access” in the top row and click “Missing metering point?”.
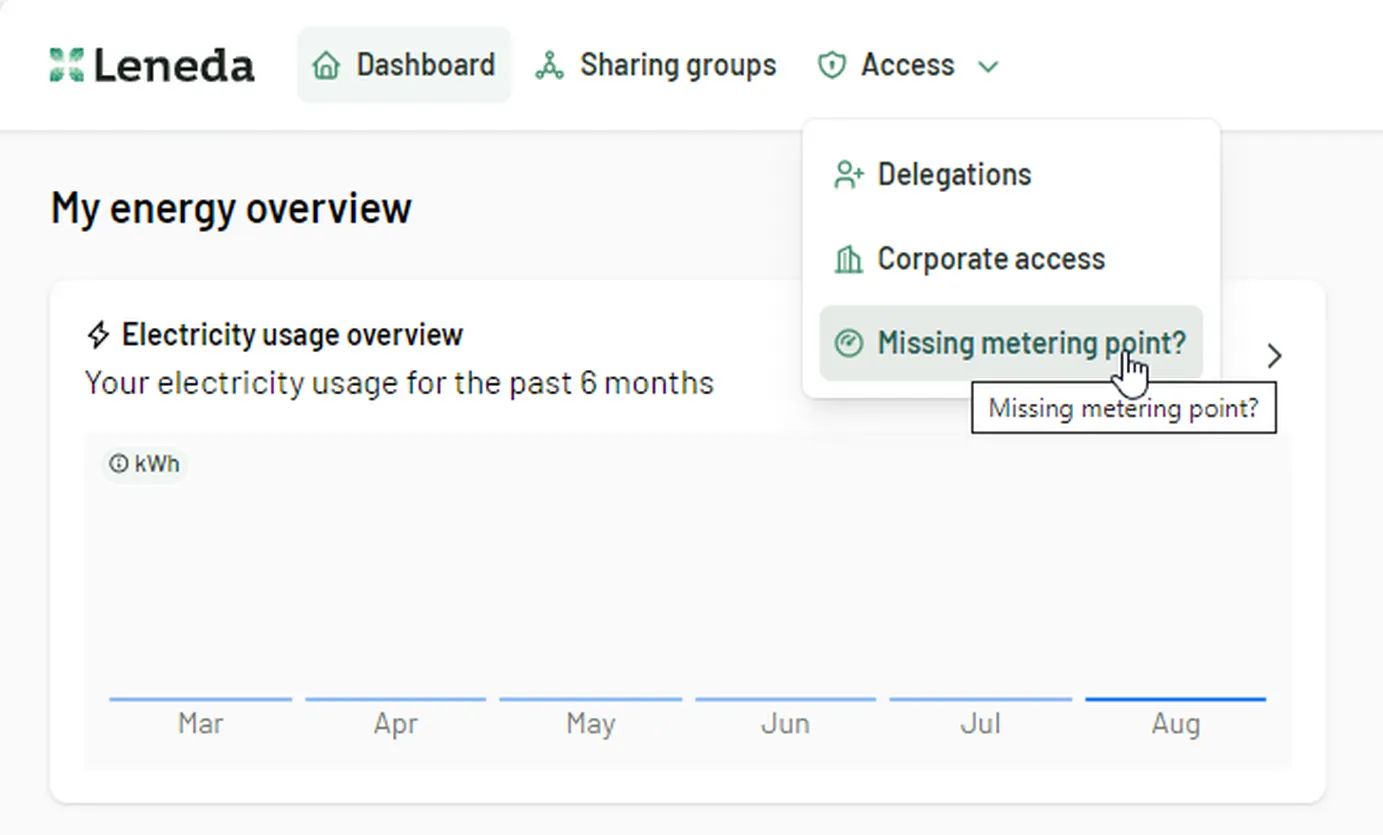
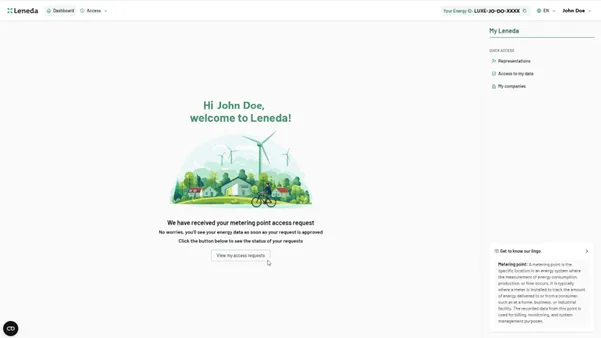
If not, you can click directly on “Request access” in the middle of the page and skip Step 3.
Step 3
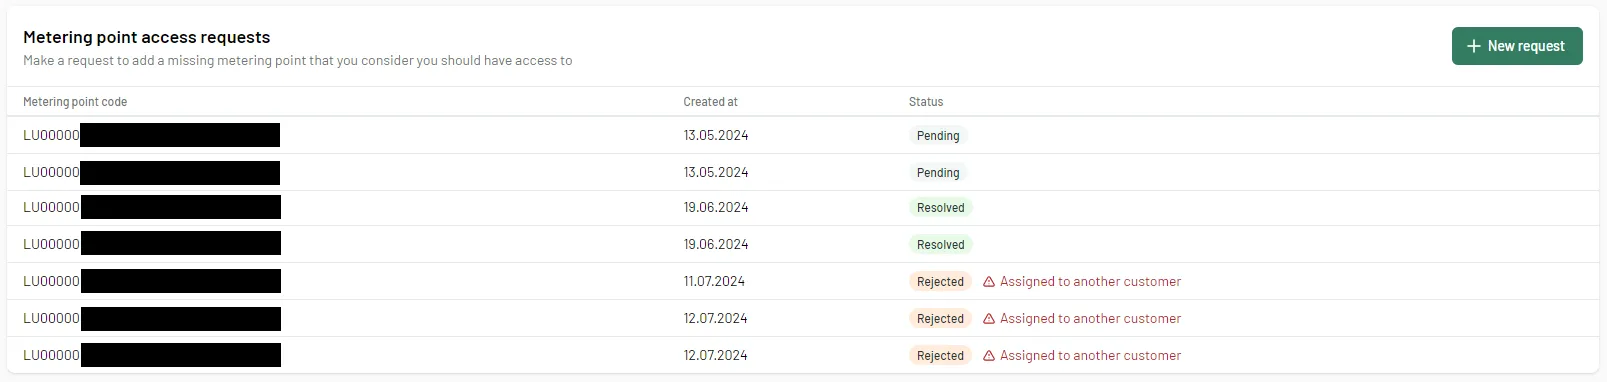
On this page, you will see your request history with the requested Metering Point code, the creation date, and the status. To add another Metering Point, click ”+ New request”.

For every status change, you will be informed by email. The statuses can be:
- Resolved: Your request has been accepted, and the metering point is now visible on your dashboard.
- Rejected: The metering point does not match your personal data. Please contact your grid operator.
- Pending: Your request is still being processed.
Step 4
This action will open a new window. Here, you must enter your meter serial number or you metering point code and press “Submit”.
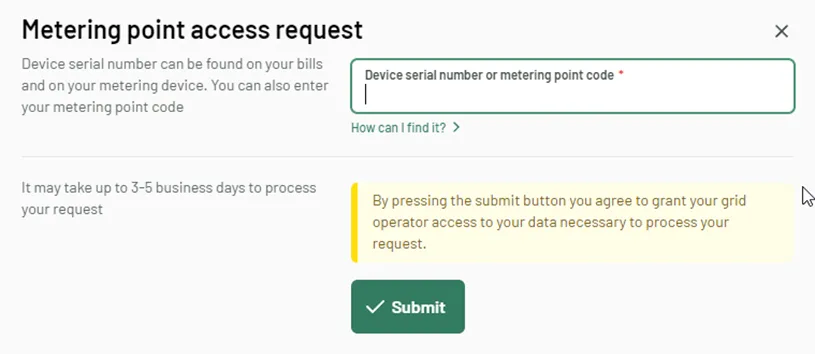
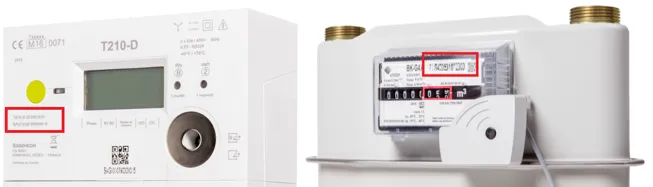
You can find your metering point code (POD) on your electric or gas bill. The device serial number is printed on your electric meter, gas meter, or also on the bill.

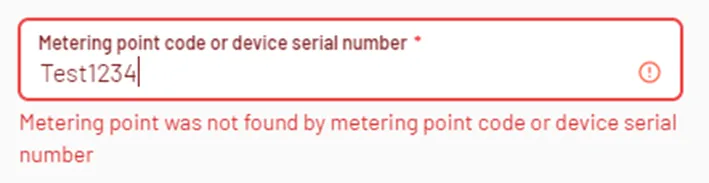
In case the following error message is shown, please recheck the data you entered. If everything is correct, please contact your grid operator. Note that for security reasons the number of possible attempts is limited per day.
Step 5
After the validation of your request, you will be informed by email when your data is available on Leneda. This can take up to 5 buisness days.